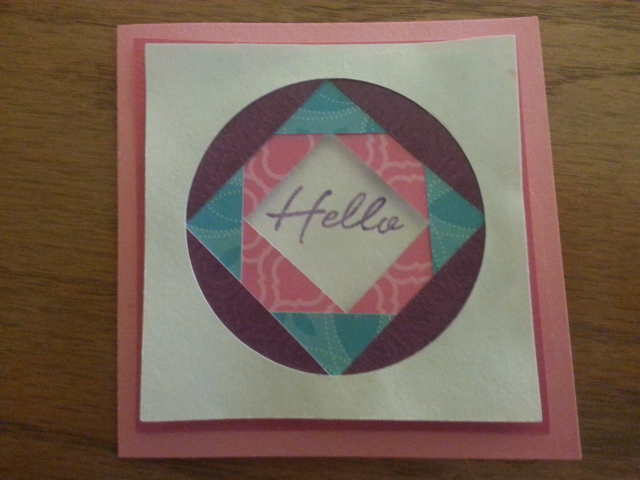
First, I picked out three different designer paper that go together and cut them in 1/2" by 3" strips. I cut out the strips using my Silhouette and made sure I had four strips of each design. Then, I cut a piece of white cardstock with my Silhouette and it measured 3-1/8" by 3-1/8" and I put a 2-1/2" circle in the middle. I was suppose to use a punch to cut out the circle, but I didn't have a big enough punch so I used what I had. On the back side of the white cardstock, I applied adhesive around the edges. Then I started with the first strip and place it diagonally in one corner so that half of the paper is showing and the other half is not. Then I come around to the other side and line it up so that the same is showing on both sides. I did this for the other two sides as well. After I have placed the four strips, I applied more adhesive on the back. Now, I grabbed the next designer paper. I used the guide of the front so that it lines up diagonally in each corner. I repeated this step for the other three corners. I had to make sure that the top of each corner of the triangles are covered with the designer paper. After those four strips are placed, I turned the cardstock over and apply more adhesive to the back. Now, I placed the last designer paper in the other diagonal on all four sides. I had scraps that are hanging off the edge and I just cut them off using my scissors. Once the scraps are cut off, I stamped "hello" on a 2" by 2" paper. After I stamped my greeting, I cut out a piece of cardstock that measures 3-3/8" by 3-3/8". I choose a dark pink that went with one of my papers. Since I want to create some dimension between my card and the bases, I applied adhesive on the back side of the greeting and lined it up with the center of the hole. After I adhered down the greeting to the other piece of cardstock, I lifted up the piece that I created. Since I wanted dimension, I put 3D foam squares on the back so that it popped up a little more than the greeting. Then I line it up my greeting. After I had everything adhered together, I placed it on a 4" by 4" light pink card that I cut out with Silhouette.
No comments:
Post a Comment